
Put a recording, video, lower-third graphic, photo or sound on the platform and link it to a show, so the Studio downloads it. To read how files and versions work, see Files.
Before you start
Section titled “Before you start”- You are an admin or a showrunner.
- For a show’s file: the show has the row you want to fill, such as a part’s recording or a presenter’s photo.
Step 1: Upload from the show
Section titled “Step 1: Upload from the show”Open the show and click the Files tab. Find the row the file is for and click Upload. Choose the file and click Upload. The file becomes a company file, linked to that row.
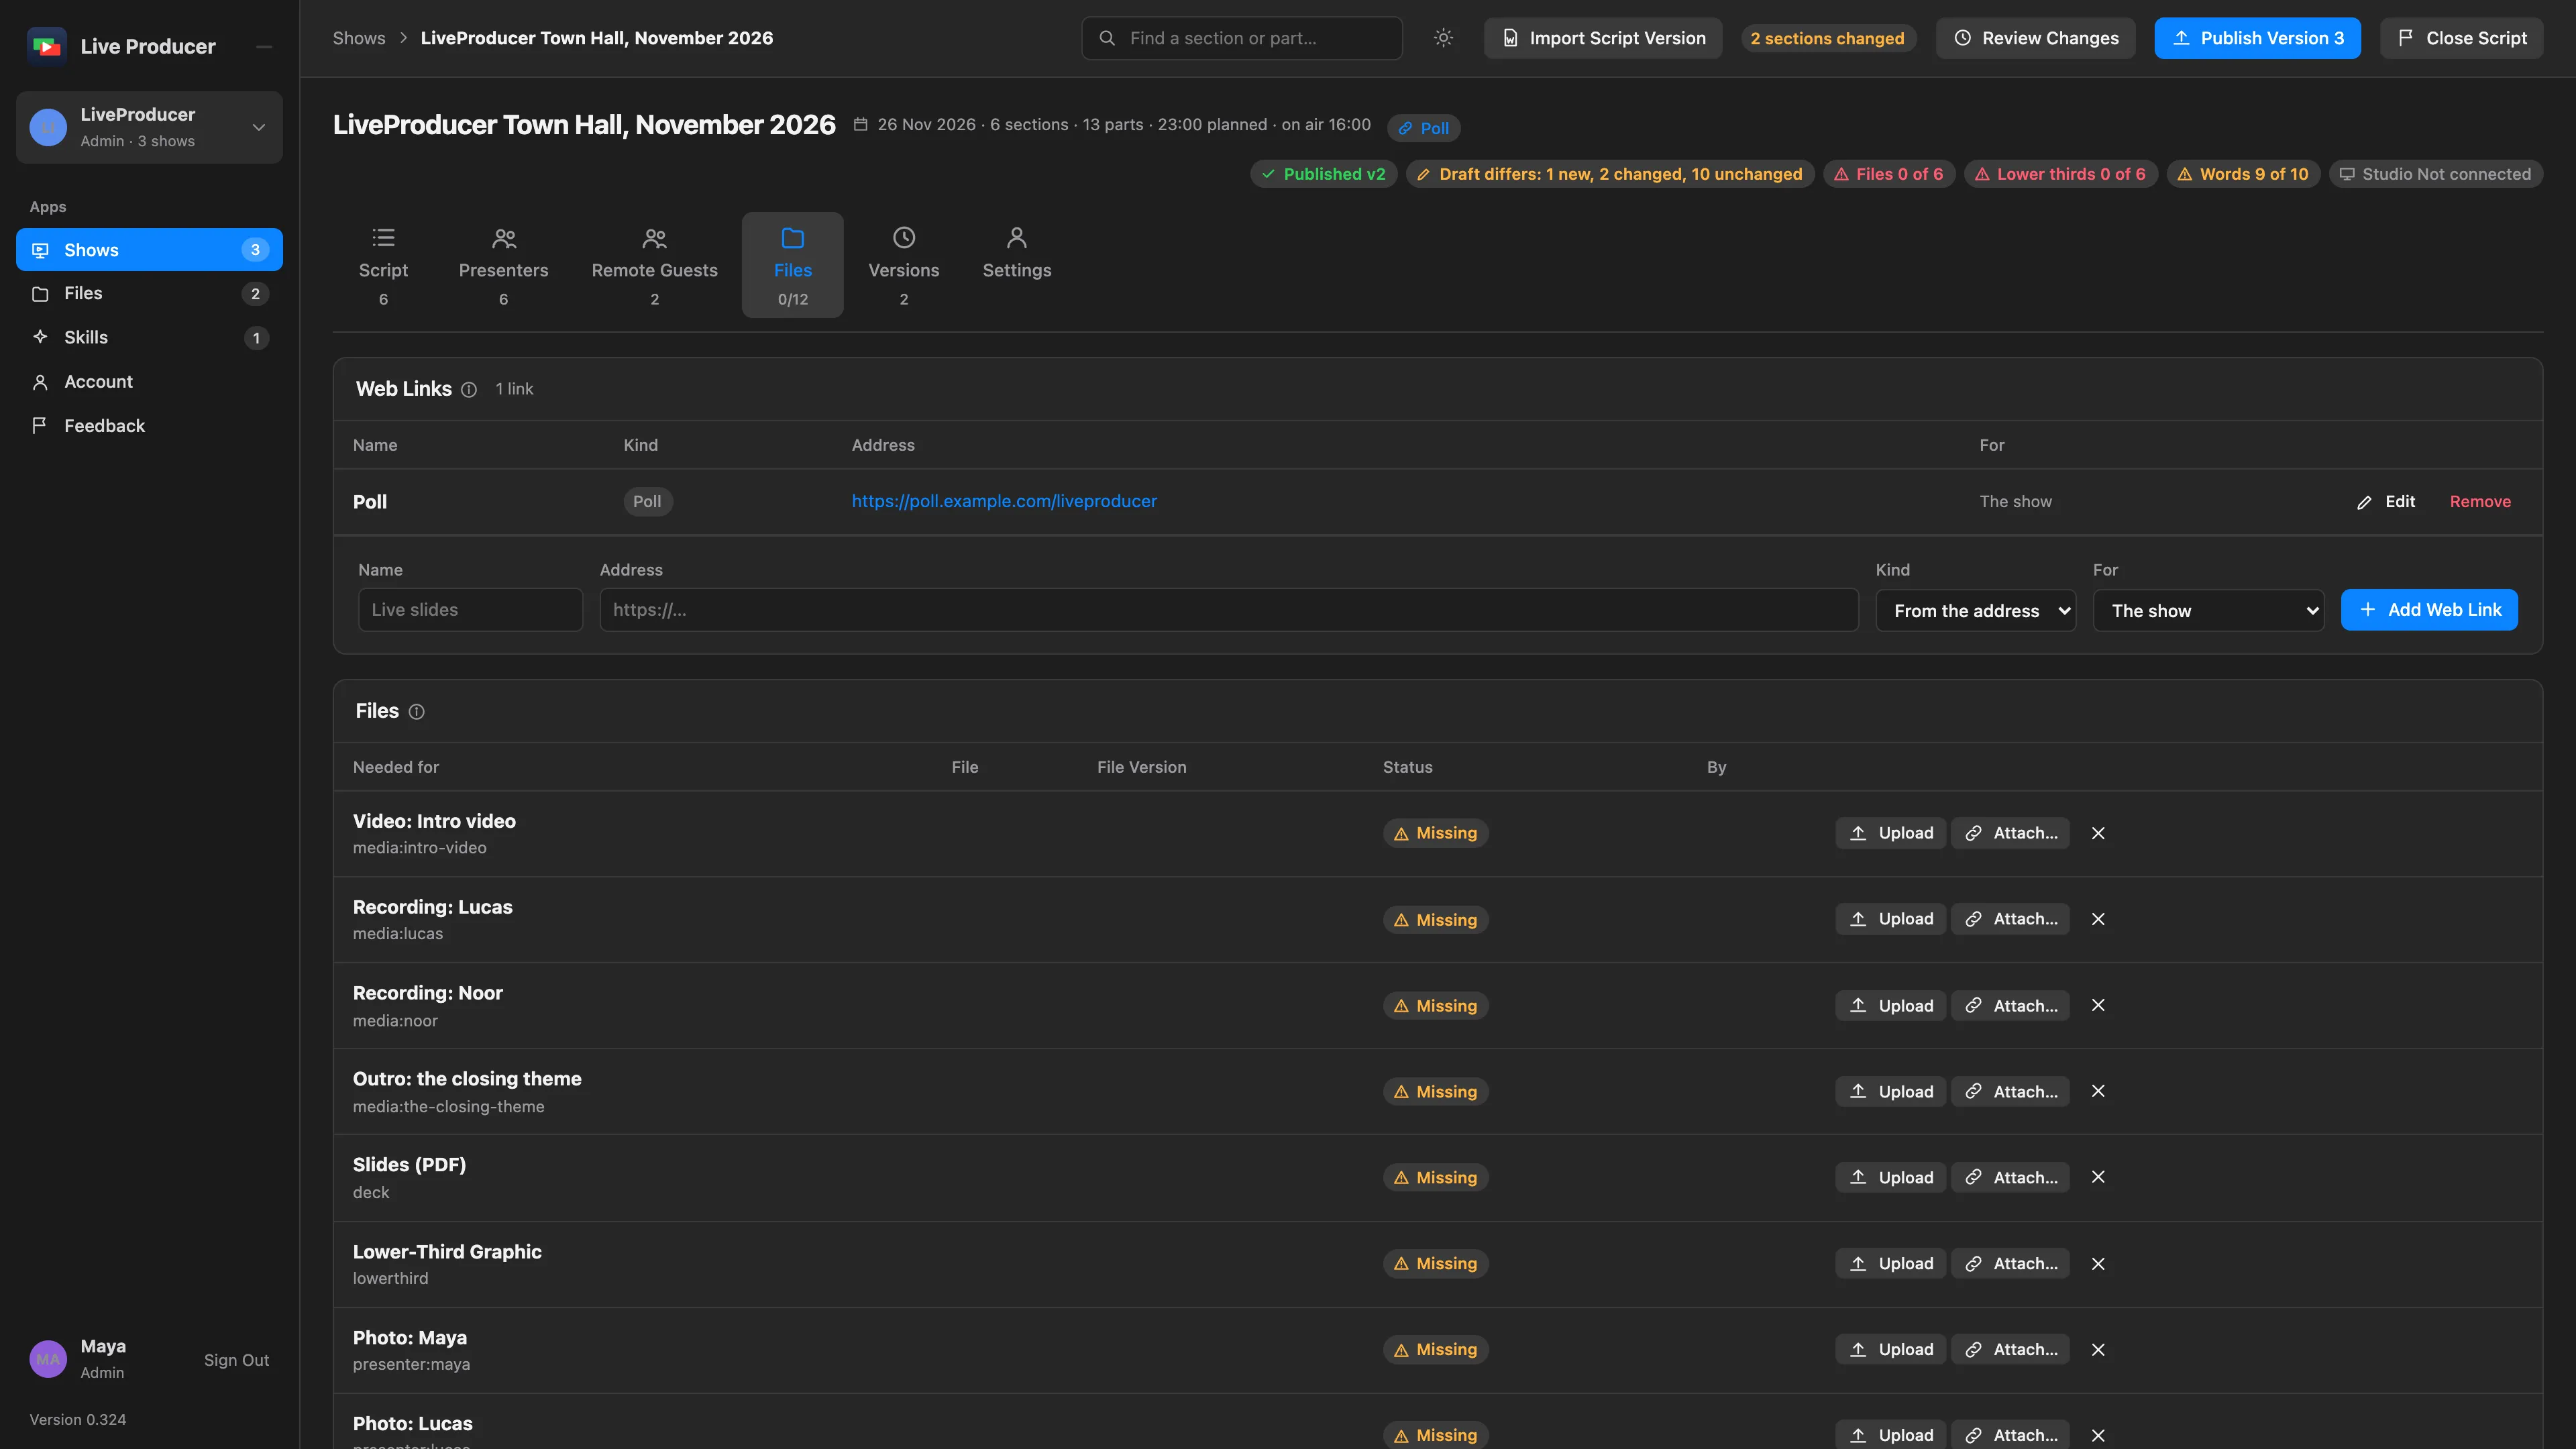
The same upload button sits beside a presenter’s photo on the Presenters tab.
Step 2: Or upload to the company’s files
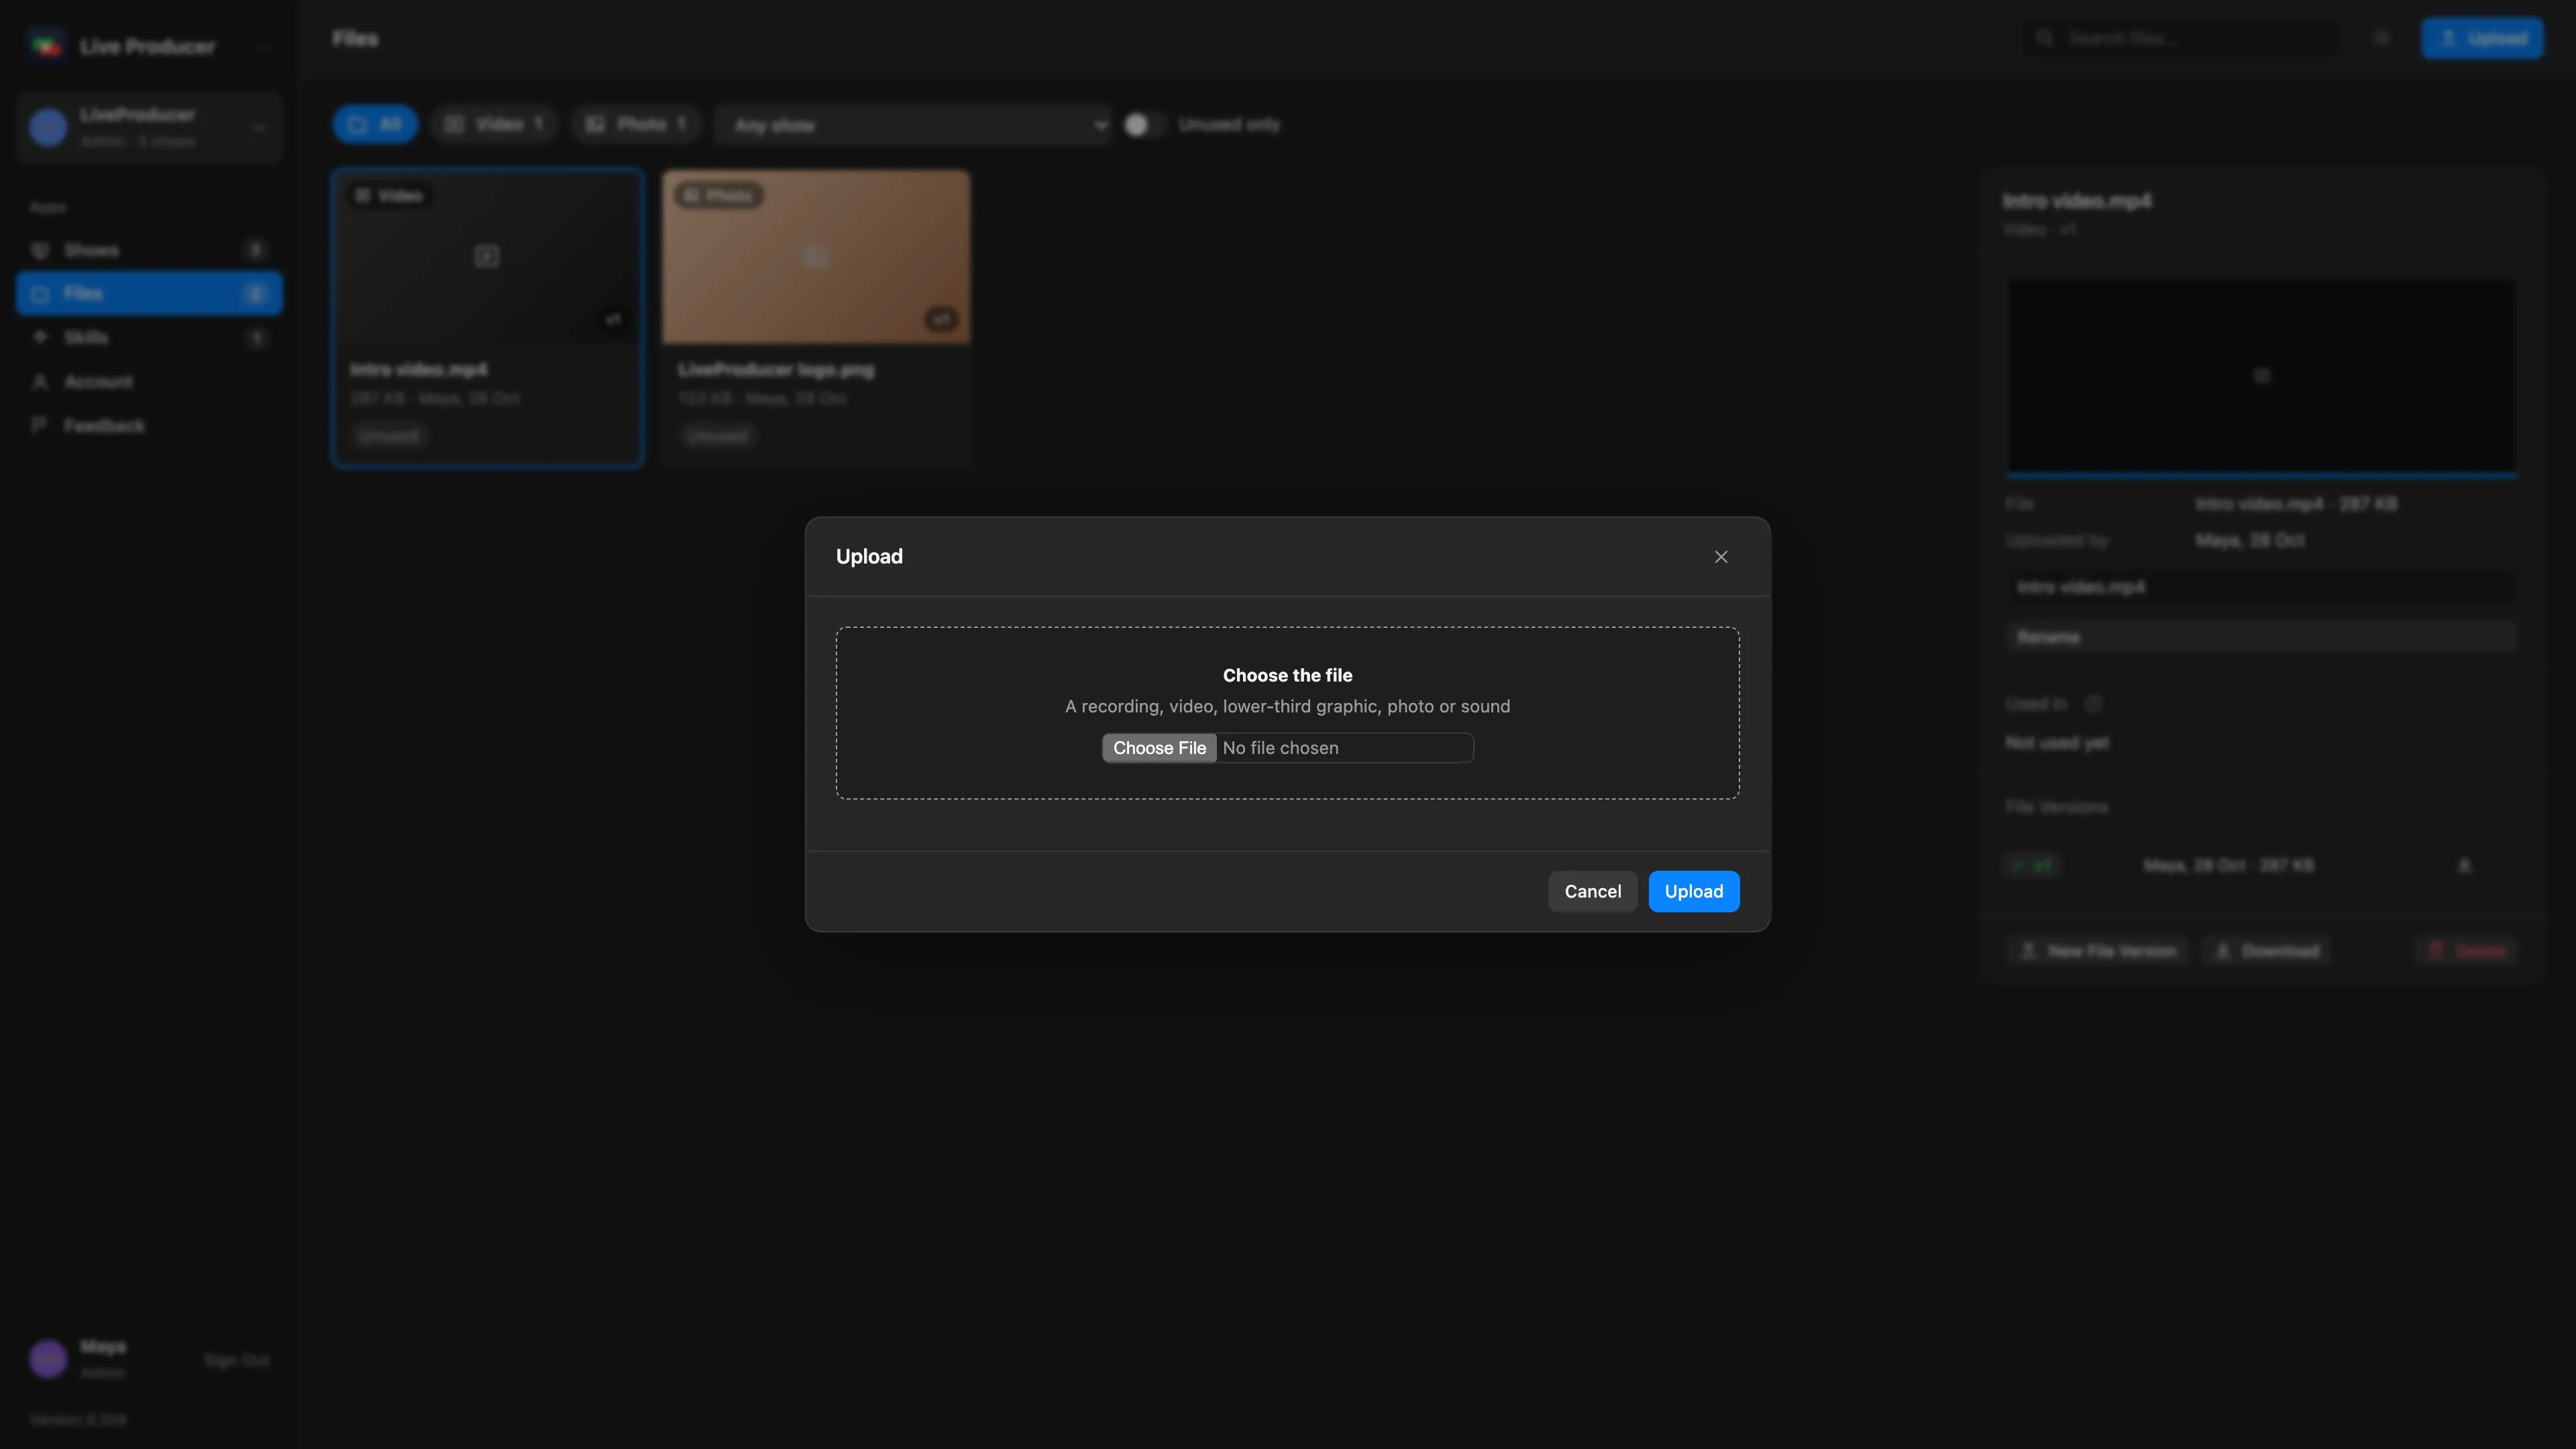
Section titled “Step 2: Or upload to the company’s files”Click Files in the rail, then Upload. Choose the file and click Upload. The file is in the company’s files, not yet used by a show.
Step 3: Attach it to a show
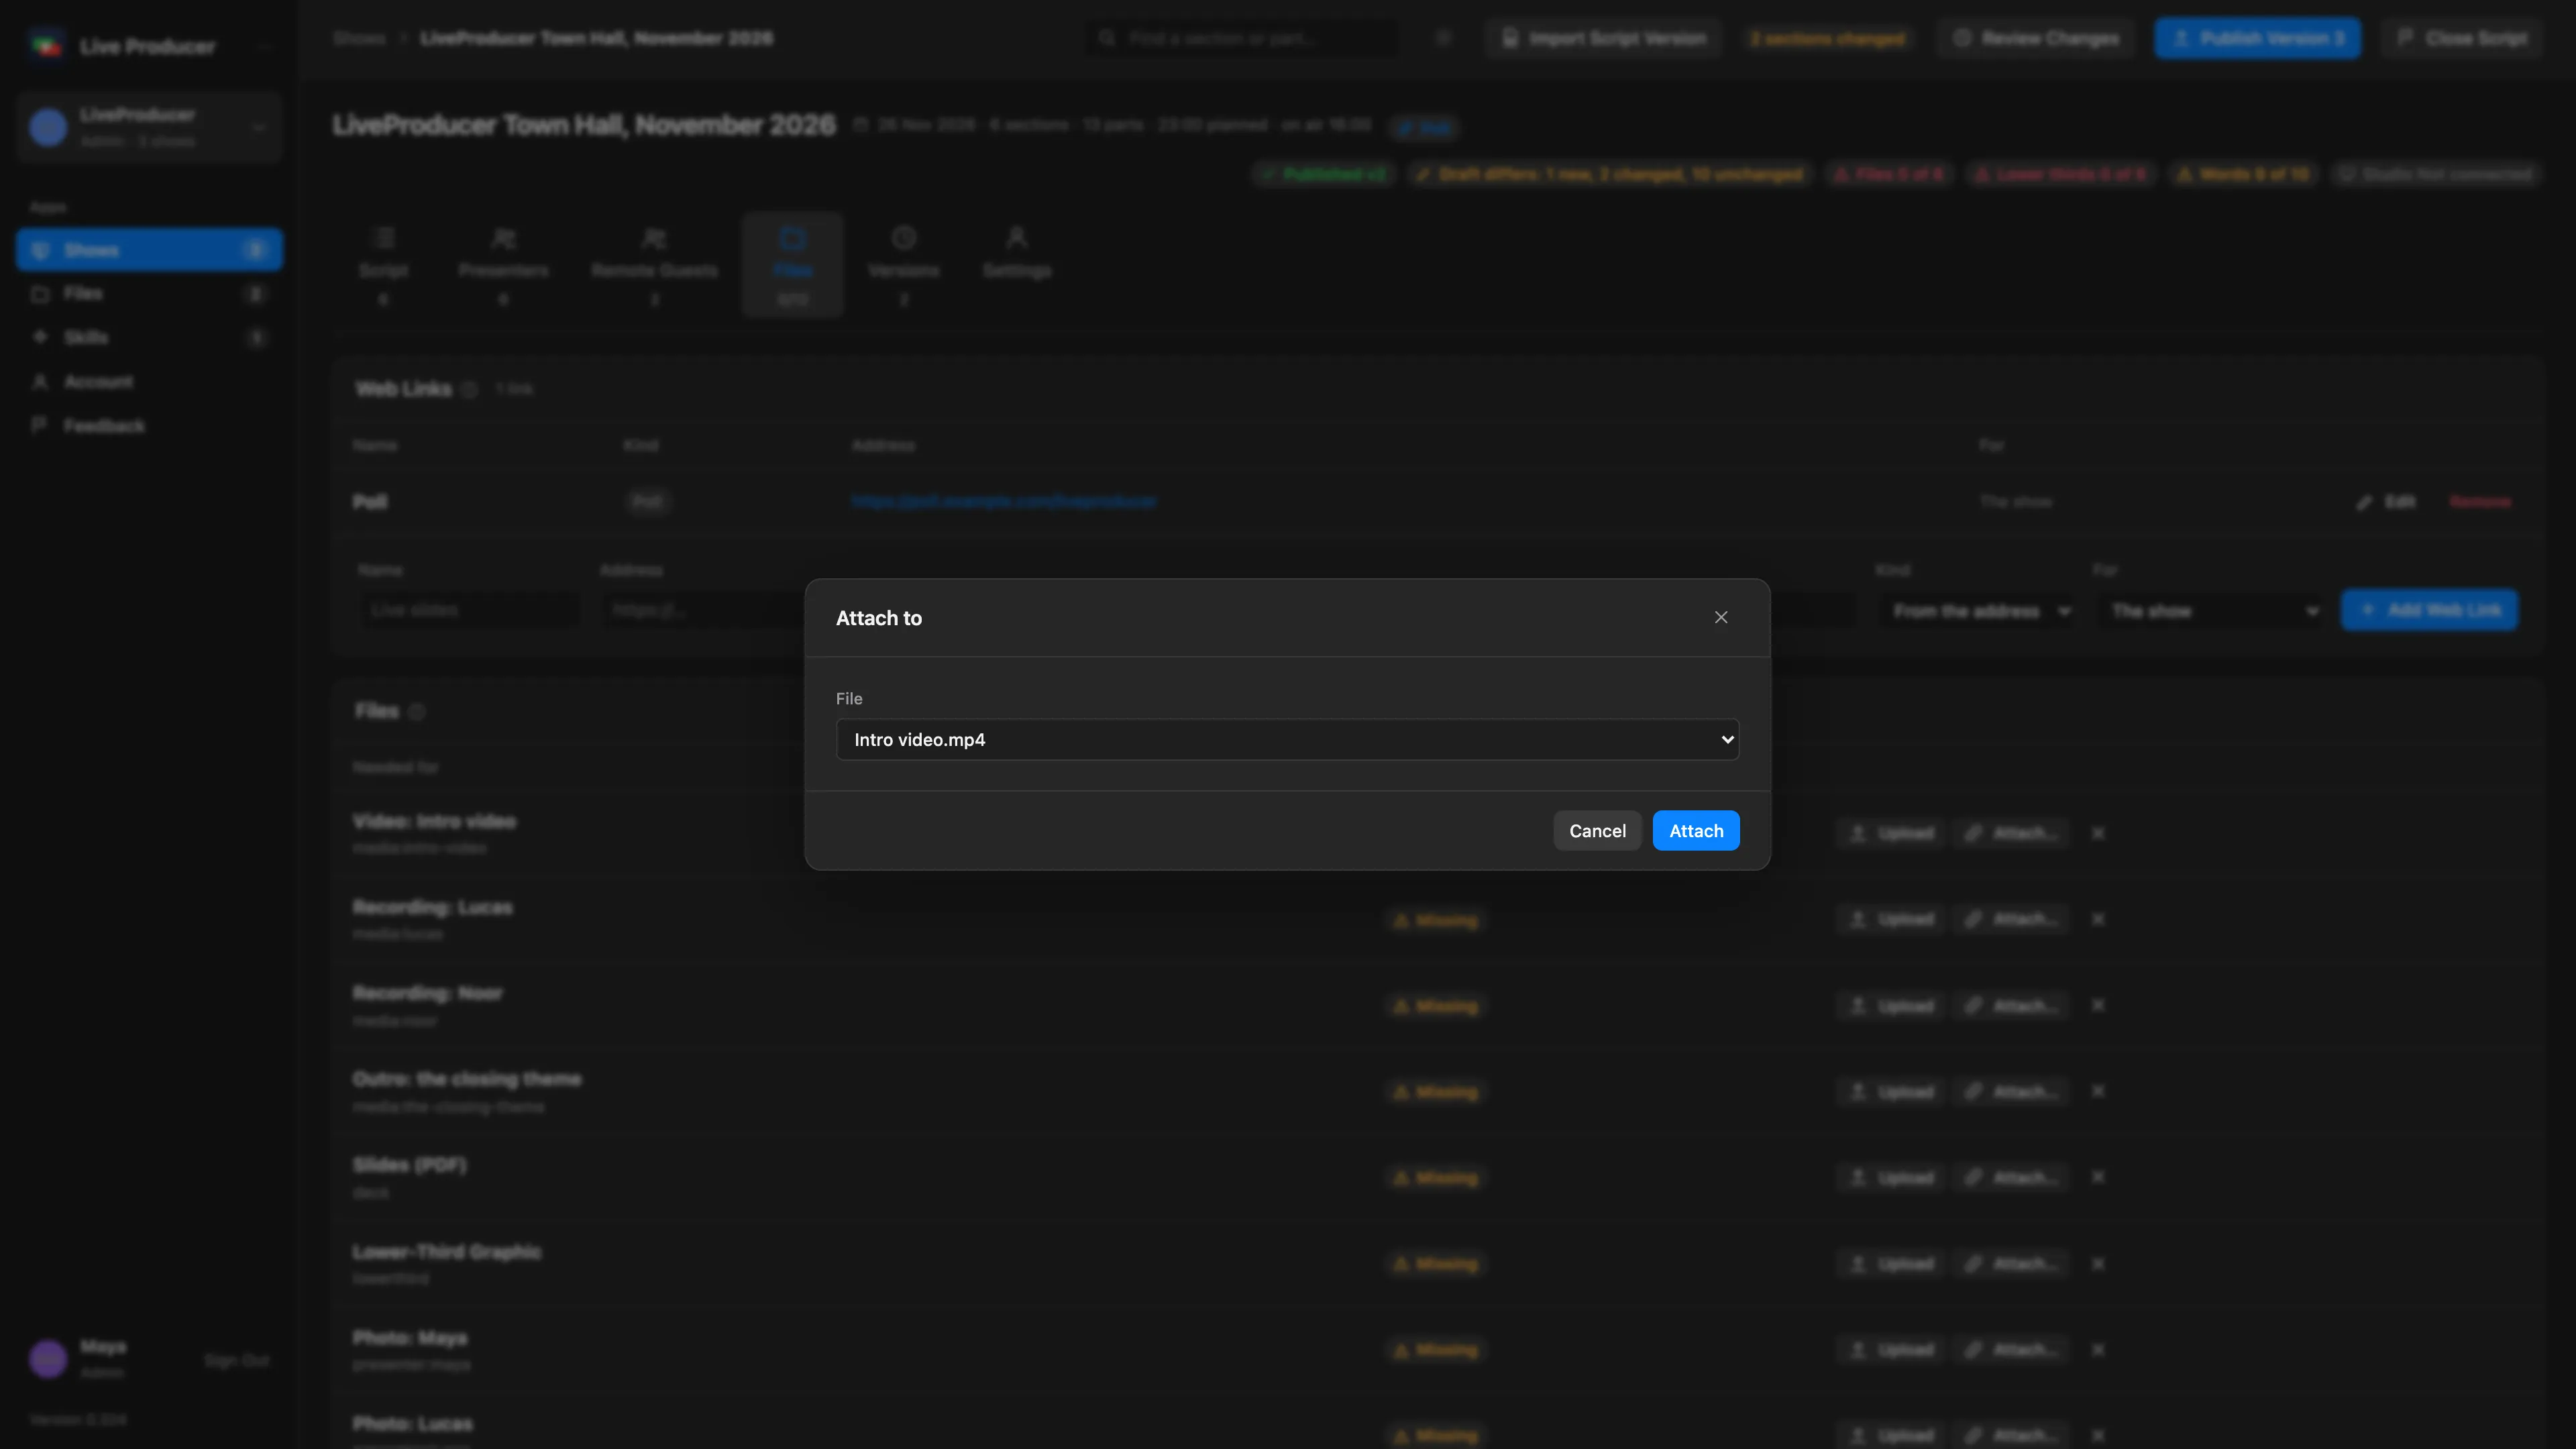
Section titled “Step 3: Attach it to a show”Open the show’s Files tab, click Attach… in the row, pick the file under File and click Attach. To undo it, click × at the end of the row.
Step 4: Upload a newer version
Section titled “Step 4: Upload a newer version”On the Files page, select the file and click New Version in its panel. Or click Upload on the show’s row again: when a file is linked already, the upload is its next version.
Step 5: Take it into the Studio
Section titled “Step 5: Take it into the Studio”A Mac with the show’s script takes it by itself, into the show’s folder: with the next pull, or at once when the file changes on the web.
Verify
Section titled “Verify”- The show’s row shows the file and its version, no longer Missing.
- On the Files page, the file’s panel lists the show under Used in.
- The show’s Files readiness meter counts it.
Related
Section titled “Related”Describes Live Producer 0.330 · 10 November 2026