
Download Live Producer Studio from your account, put it in Applications, sign in the first time, and allow what macOS asks for.
Install Live Producer Studio on the Mac that runs your shows. Every permission macOS asks for, and why, is in Permissions.
Before you start
Section titled “Before you start”- A Mac with Apple silicon (M1 or later) and at least 16 GB of memory. Intel Macs are not supported.
- macOS 26 or later.
- A Live Producer account. During the beta, the Studio is downloaded from your account and asks you to sign in the first time it opens.
Memory matters most: every camera and source keeps a moment of video ready, so more sources need more of it.
| Level | For | Mac |
|---|---|---|
| Minimum | A camera, your slides, a stream or a call | M1 or later, 16 GB, one external display for the program |
| Recommended | Several cameras, remote guests, recording and streaming at once | Any Apple silicon chip, 16 GB or more, a second display for the program |
| For bigger shows | Many sources and guests, 50 or 60 frames a second, several screens | A Pro or Max chip, 32 GB, two or more external displays |
The M1 and M2 MacBook Air and the 13-inch MacBook Pro drive one external display; an M3 or later Air drives two with its lid closed.
Step 1: Download the Studio
Section titled “Step 1: Download the Studio”On liveproducer.ai, click Download for Mac. You sign in first, or create your account, and the download starts. Signed in already, open Account on the platform and click Download Studio in Apps. You can download it again from there at any time.
Step 2: Copy the Studio to Applications
Section titled “Step 2: Copy the Studio to Applications”Open the downloaded LiveProducer-<version>.dmg and drag Live Producer into the Applications
folder. Keep it there: Live Producer Camera, the camera for video calls, installs only from the
Applications folder.
Step 3: Open it and sign in
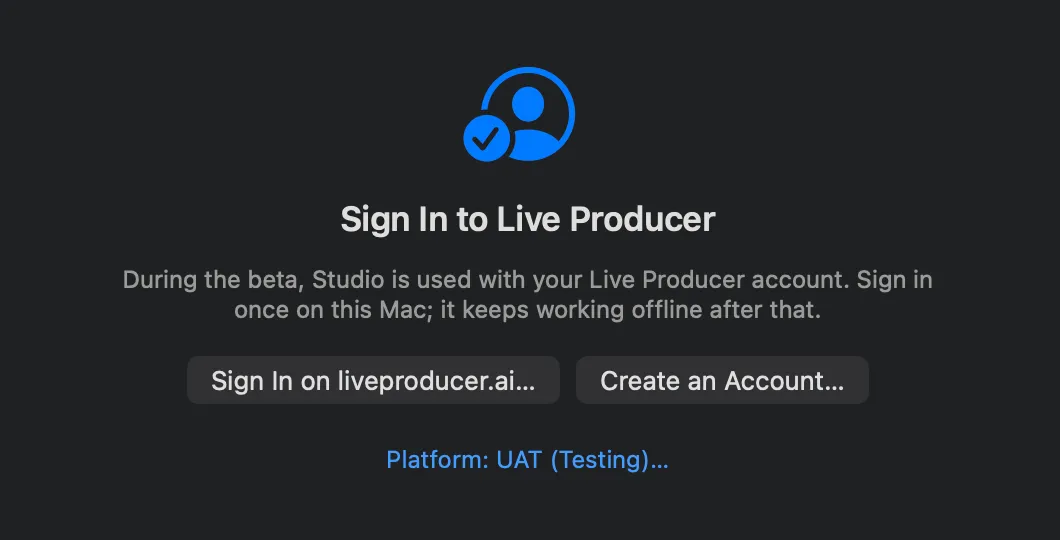
Section titled “Step 3: Open it and sign in”Open Live Producer from the Applications folder. During the beta, the window first says Sign In to Live Producer: click Sign In on liveproducer.ai…, sign in in the browser and confirm the code it shows, as in Sign in. The Mac stays signed in: the Studio keeps working offline after that, and never asks again in the middle of a show.
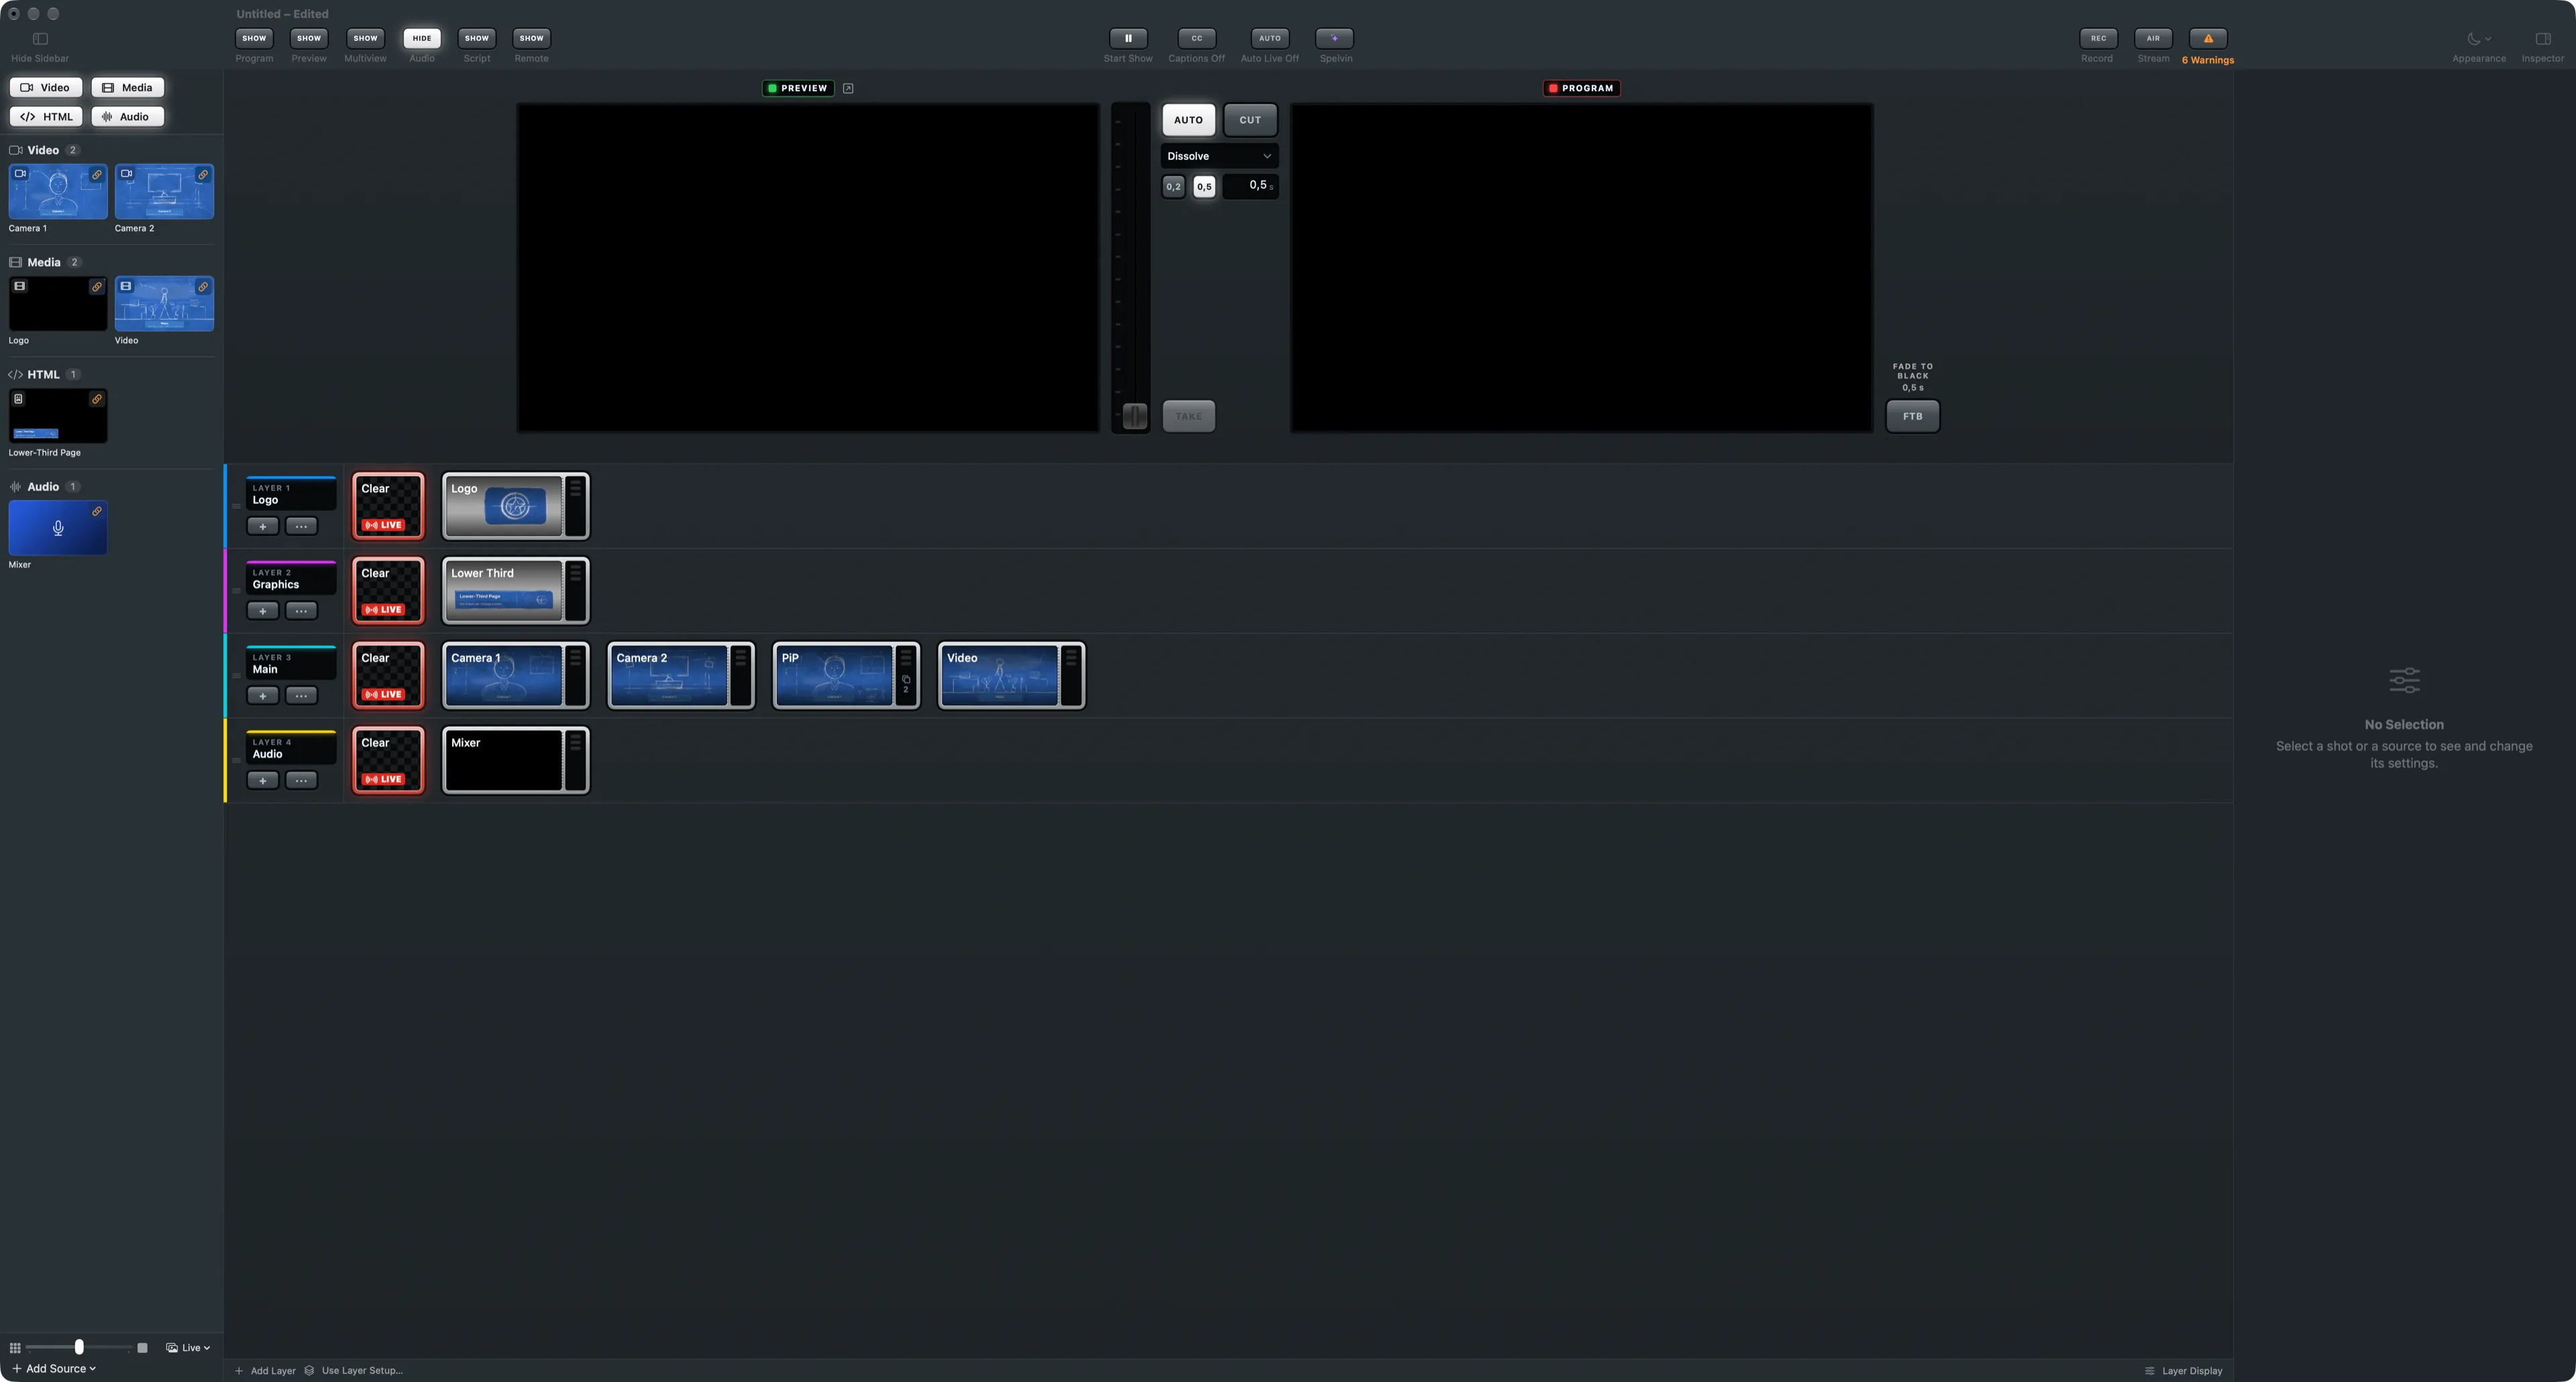
Then the main window opens with a show, and you can switch right away.
Step 4: Allow what macOS asks for
Section titled “Step 4: Allow what macOS asks for”macOS asks the first time the Studio needs something. Allow it:
| When | macOS asks for |
|---|---|
| A camera source starts | Camera |
| An audio input starts | Microphone |
| The phone remote or an NDI source is used | Local Network |
| Captions are turned on | Speech Recognition |
| A window of another app, or a web page, is captured | Screen Recording |
Step 5: Allow Screen Recording
Section titled “Step 5: Allow Screen Recording”Without Screen Recording, web pages update only about 12 times a second and windows of other apps cannot be captured.
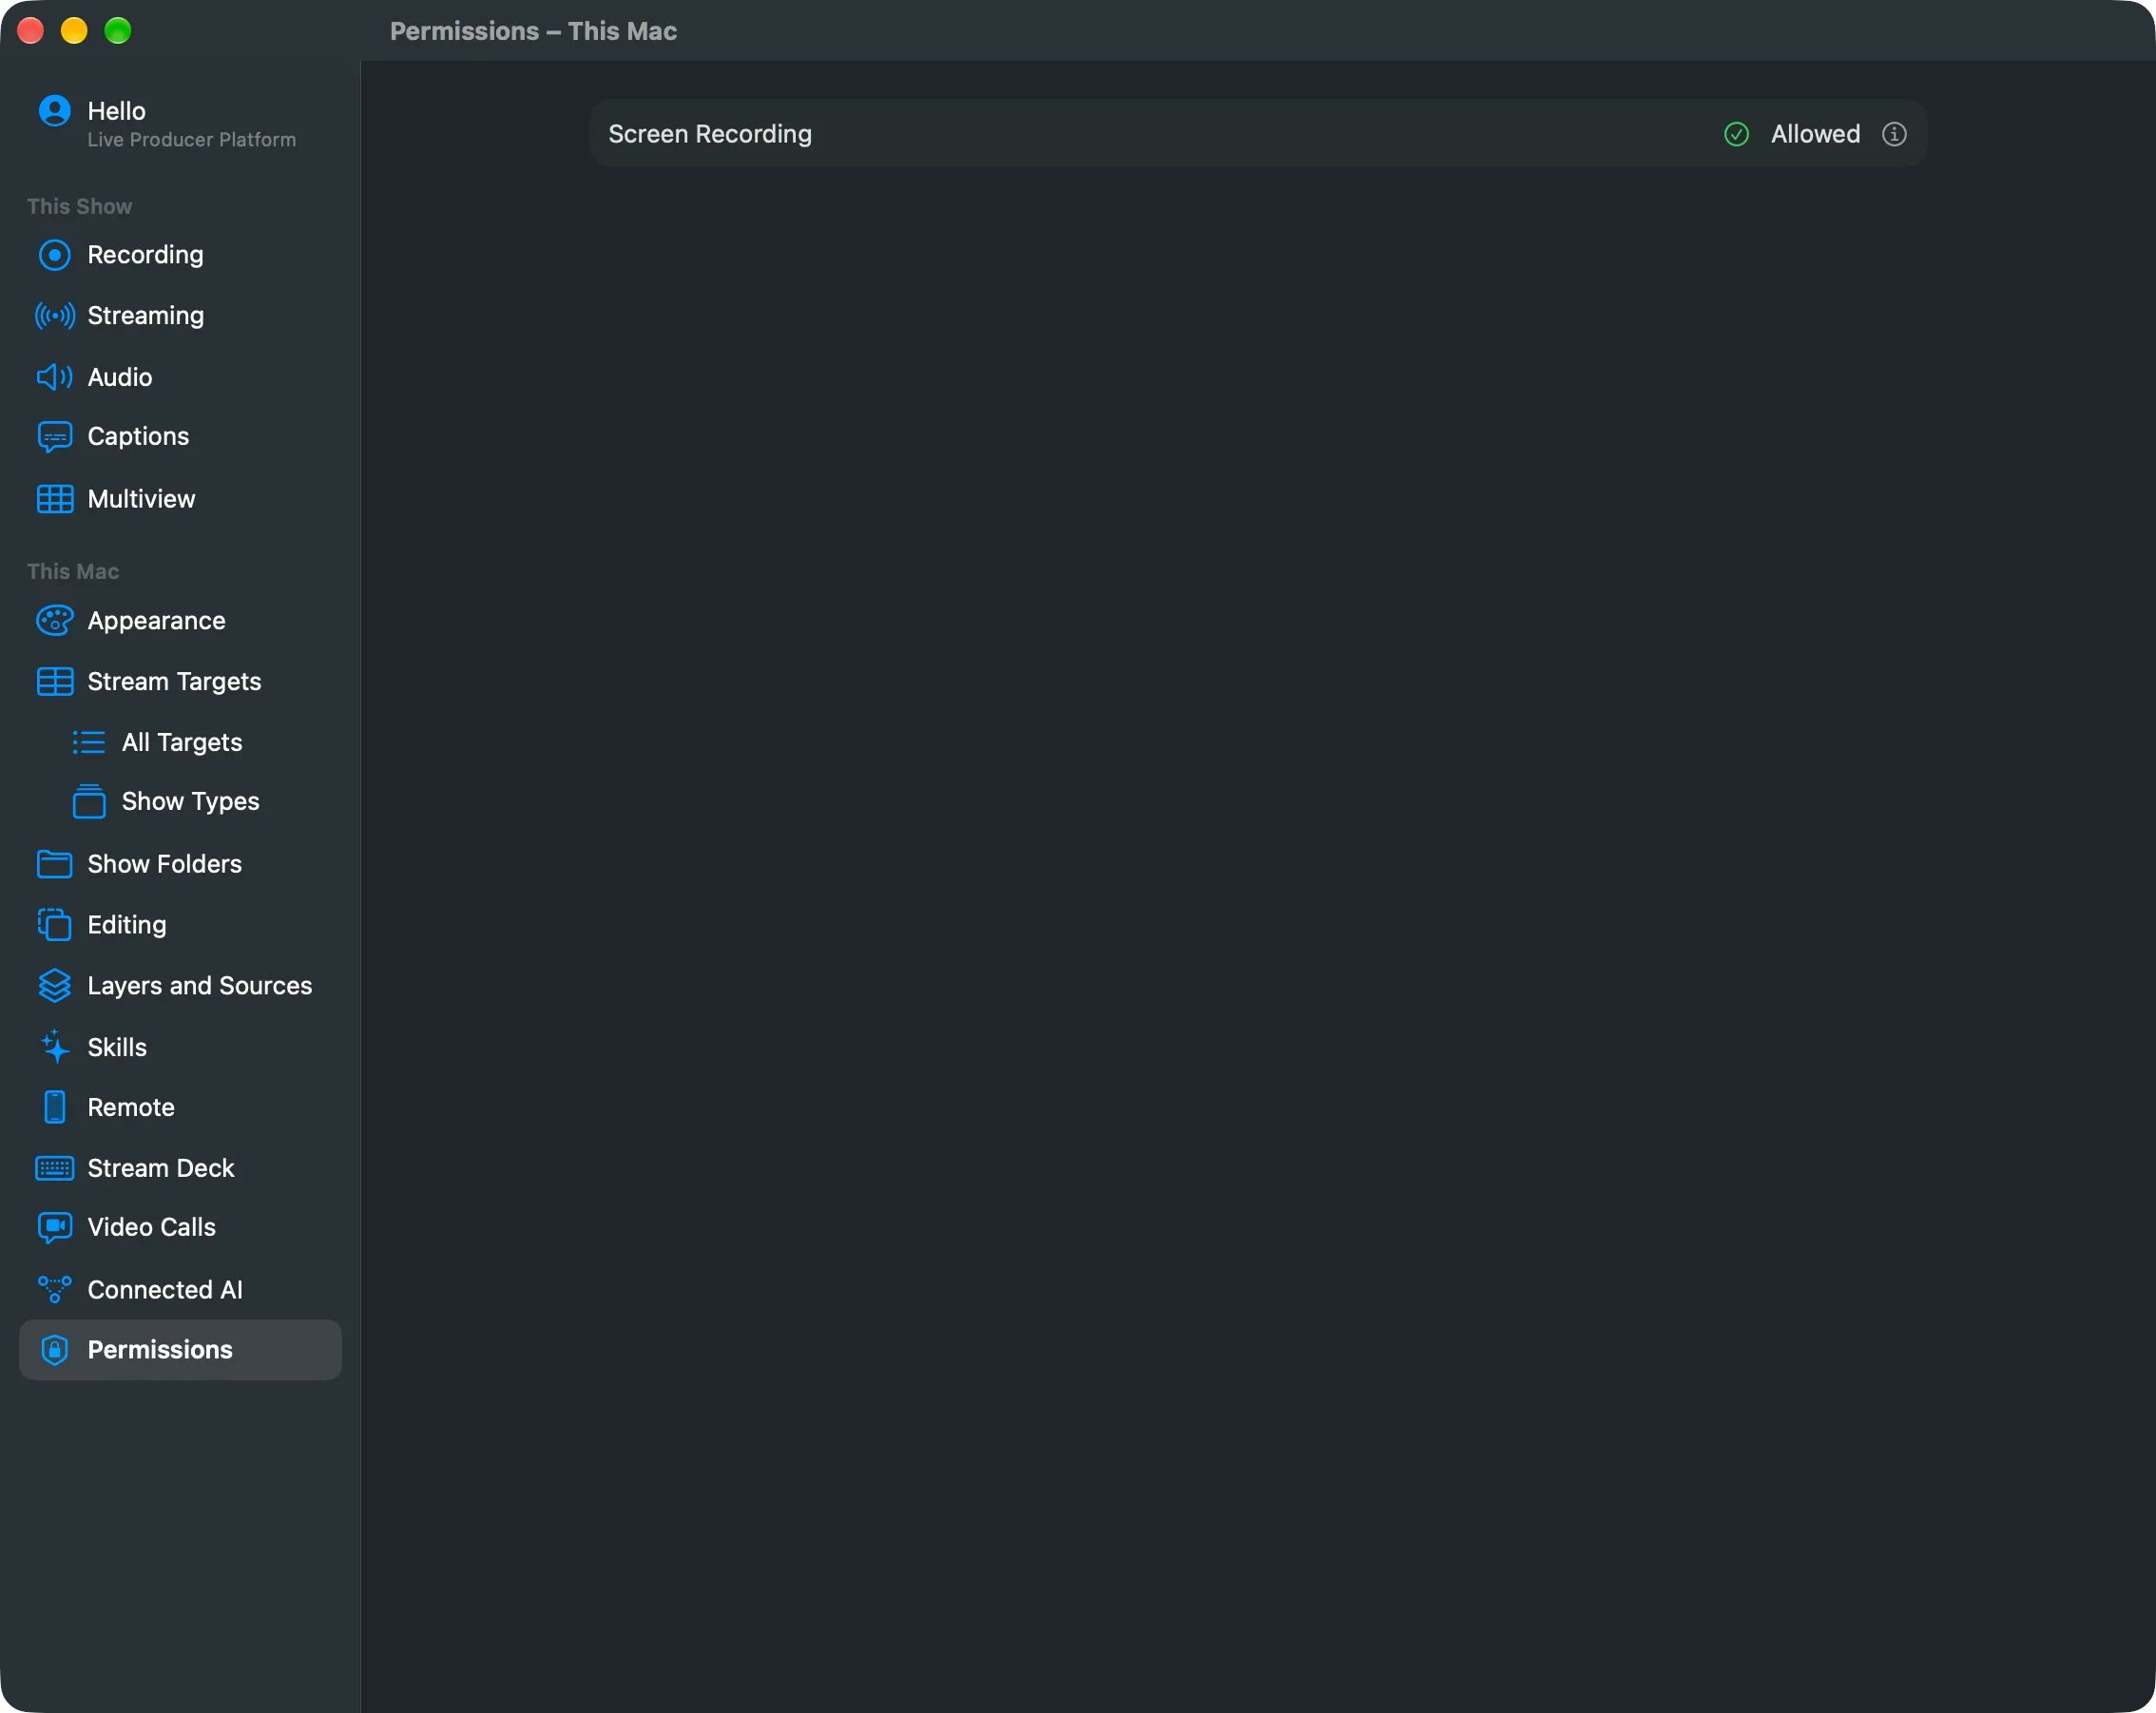
- Choose Live Producer › Settings… (⌘,) and click Permissions under This Mac.
- Click Request Access… and allow Live Producer in System Settings.
- Quit Live Producer and open it again.
Verify
Section titled “Verify”- Settings › This Mac › Permissions says Screen Recording is Allowed.
- Live Producer › About Live Producer shows the version.
Related
Section titled “Related”Describes Live Producer 0.330 · 10 November 2026