
Record the program, picture and sound, as a movie while you switch. See Recording.
Before you start
Section titled “Before you start”- Check the disk has room: at 20 Mb/s an hour is about 9 GB.
- Save the show in a show folder so the recording lands beside it. File › Make a Show Folder… makes one for a show that has none. A show folder in iCloud Drive (Desktop and Documents synced) records into the Movies folder instead, so nothing uploads during a show.
Step 1: Check the settings
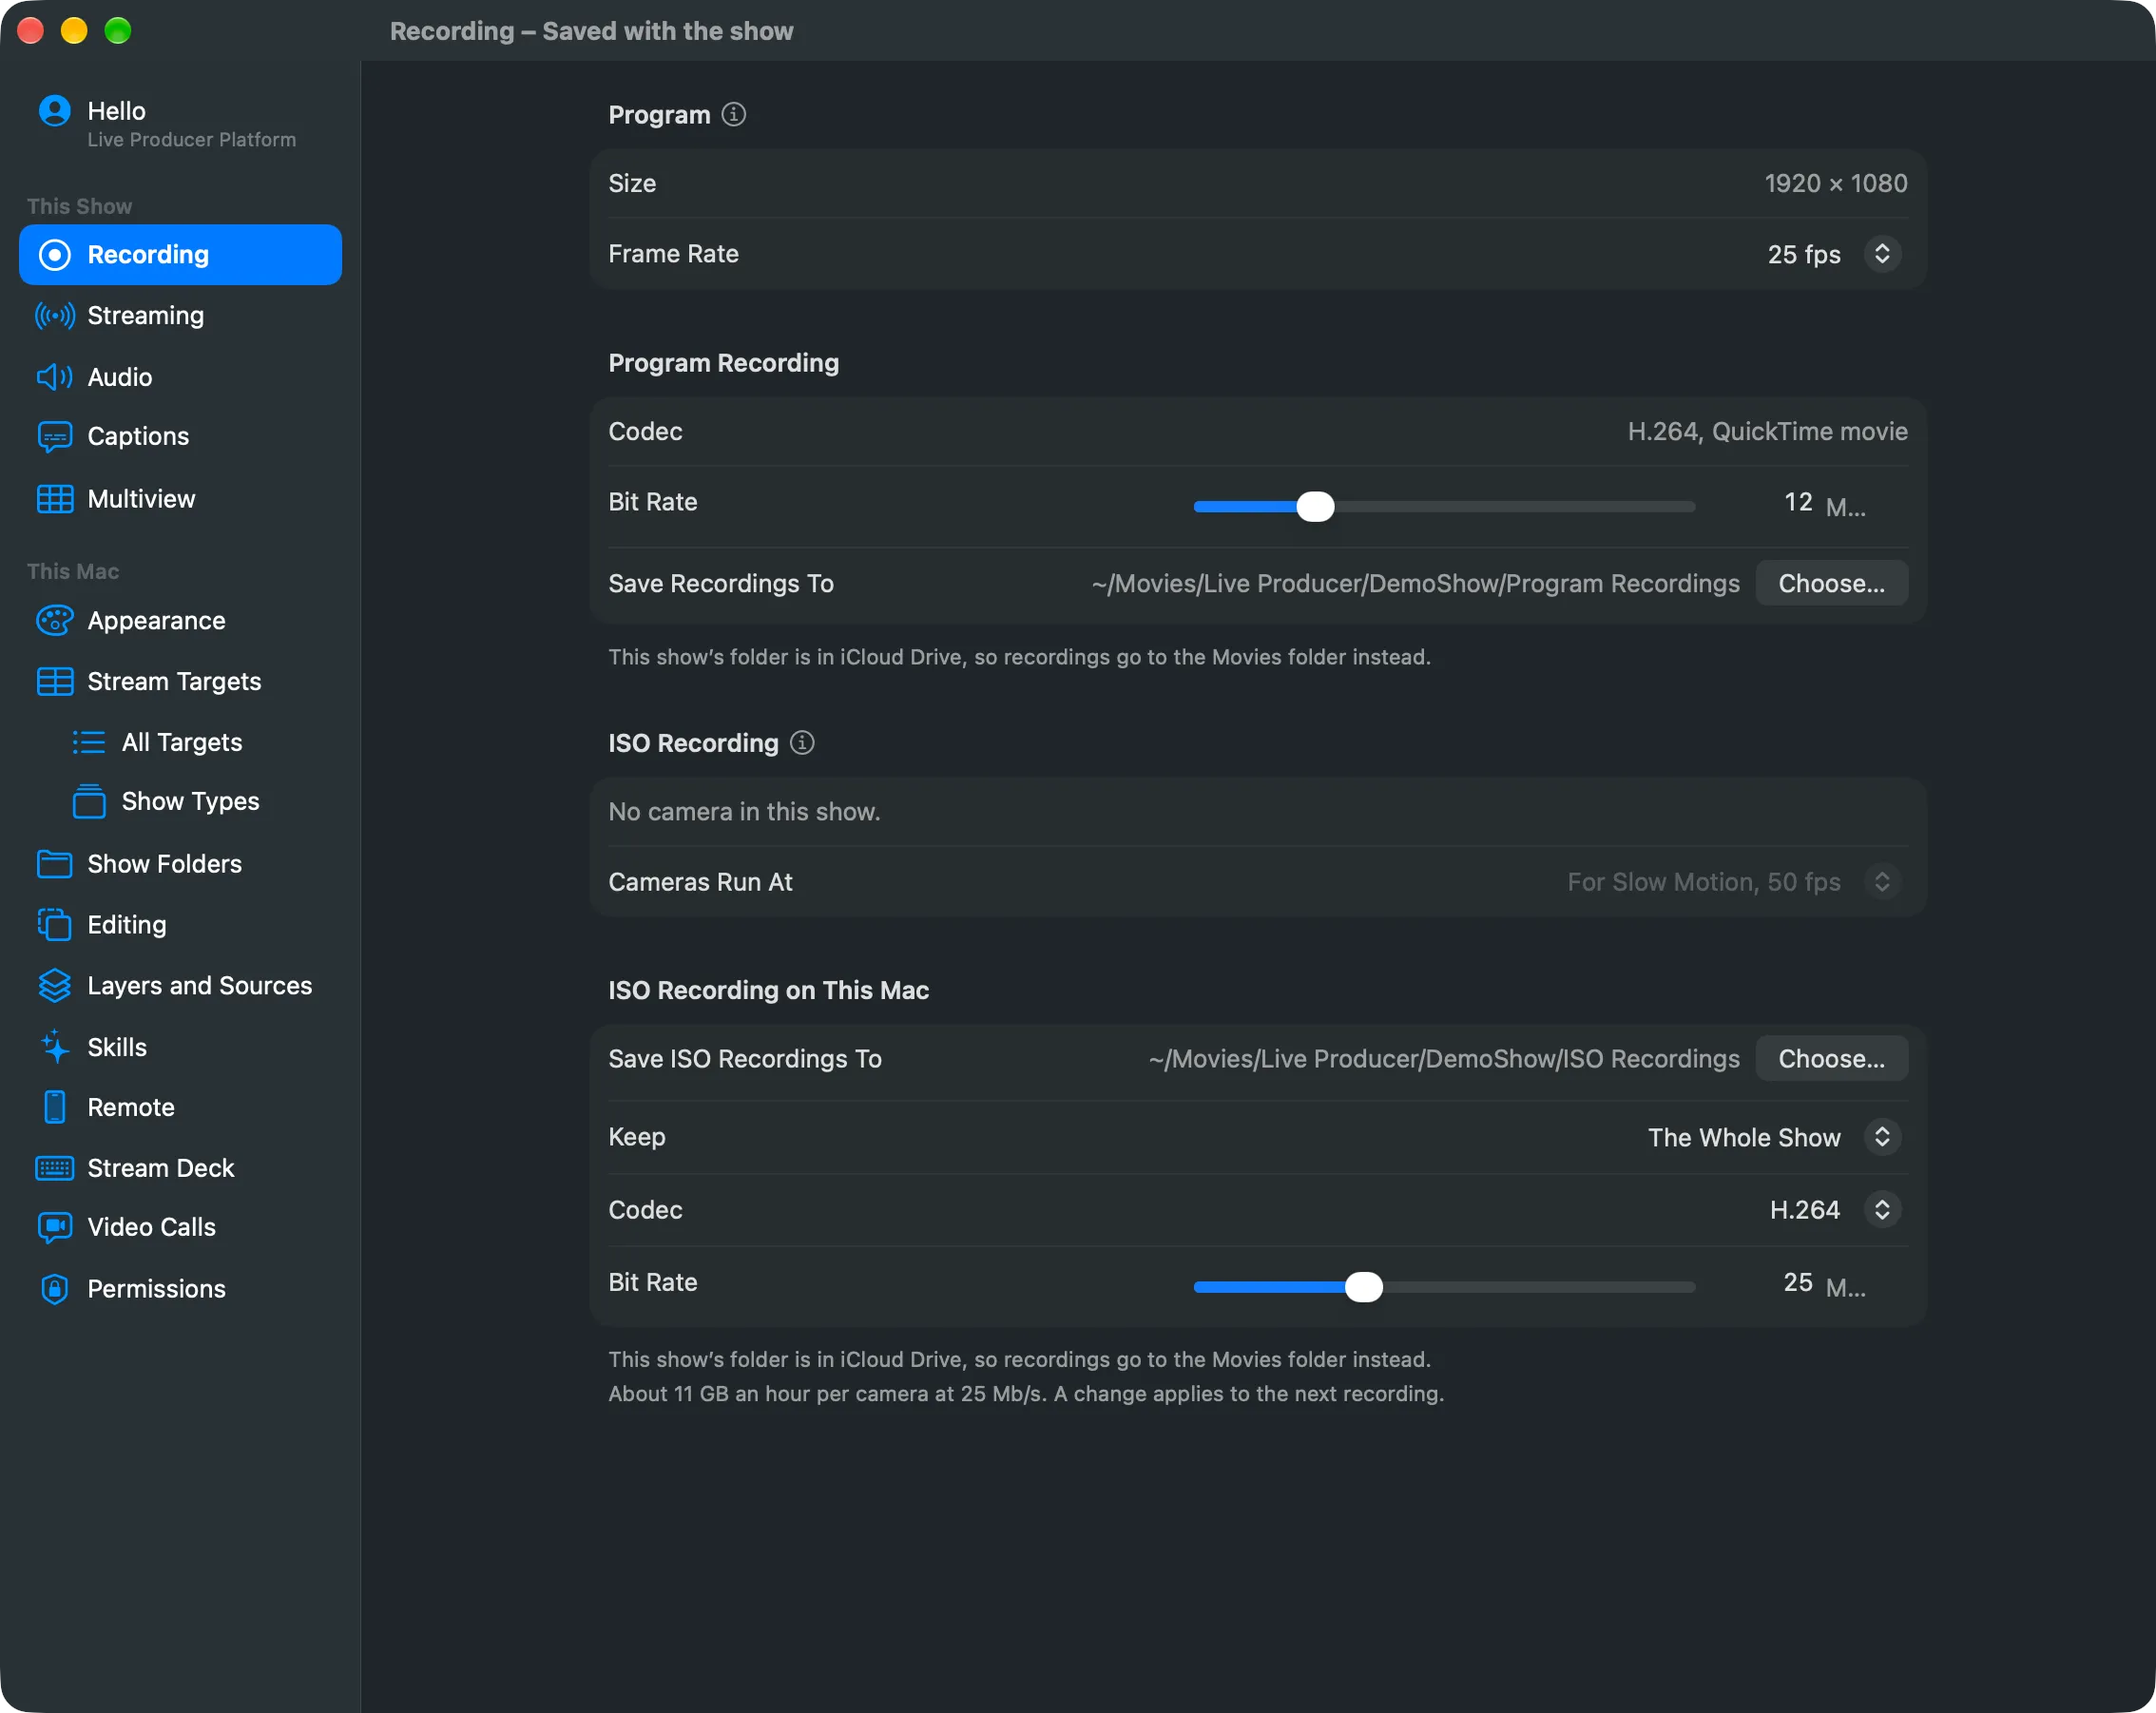
Section titled “Step 1: Check the settings”Open Settings › This Show › Recording. Under Program Recording, set Bit Rate and check Save Recordings To. To record somewhere else, for example a fast external disk, click Choose… and pick the folder; the movies go straight into it. Use Default goes back to the show folder.
Step 2: Start recording
Section titled “Step 2: Start recording”Choose Switcher › Start Recording (⇧⌘R). Or click Record in the toolbar, then Record in the Program row. The toolbar button turns red and counts: “Recording 0:12”.
Step 3: Stop recording
Section titled “Step 3: Stop recording”Click Record in the toolbar, then Stop in the Program row. Switcher › Stop Recording… (⇧⌘R) opens the same popover. Return never stops a recording.
Step 4: Find the file
Section titled “Step 4: Find the file”The movie is in the folder Save Recordings To shows: usually the show folder’s Program
Recordings (File › Show the Show Folder in Finder), or
~/Movies/Live Producer/<show>/Program Recordings when the show folder is in iCloud Drive.
Verify
Section titled “Verify”Open the movie in QuickTime Player. It plays from the moment you started to the stop, with the program’s sound.
Related
Section titled “Related”Describes Live Producer 0.330 · 10 November 2026