
Tick the cameras to record each on its own (ISO), every frame at its full rate, for replays and slow motion.
Record chosen cameras each on their own, beside or without the program recording. See Recording.
Before you start
Section titled “Before you start”- The show has camera sources. ISO recording offers cameras only.
- Check the disk. The Recording page estimates the gigabytes per hour per camera at the bit rate you choose; while recording, the Record popover shows the hours left.
Step 1: Tick the cameras
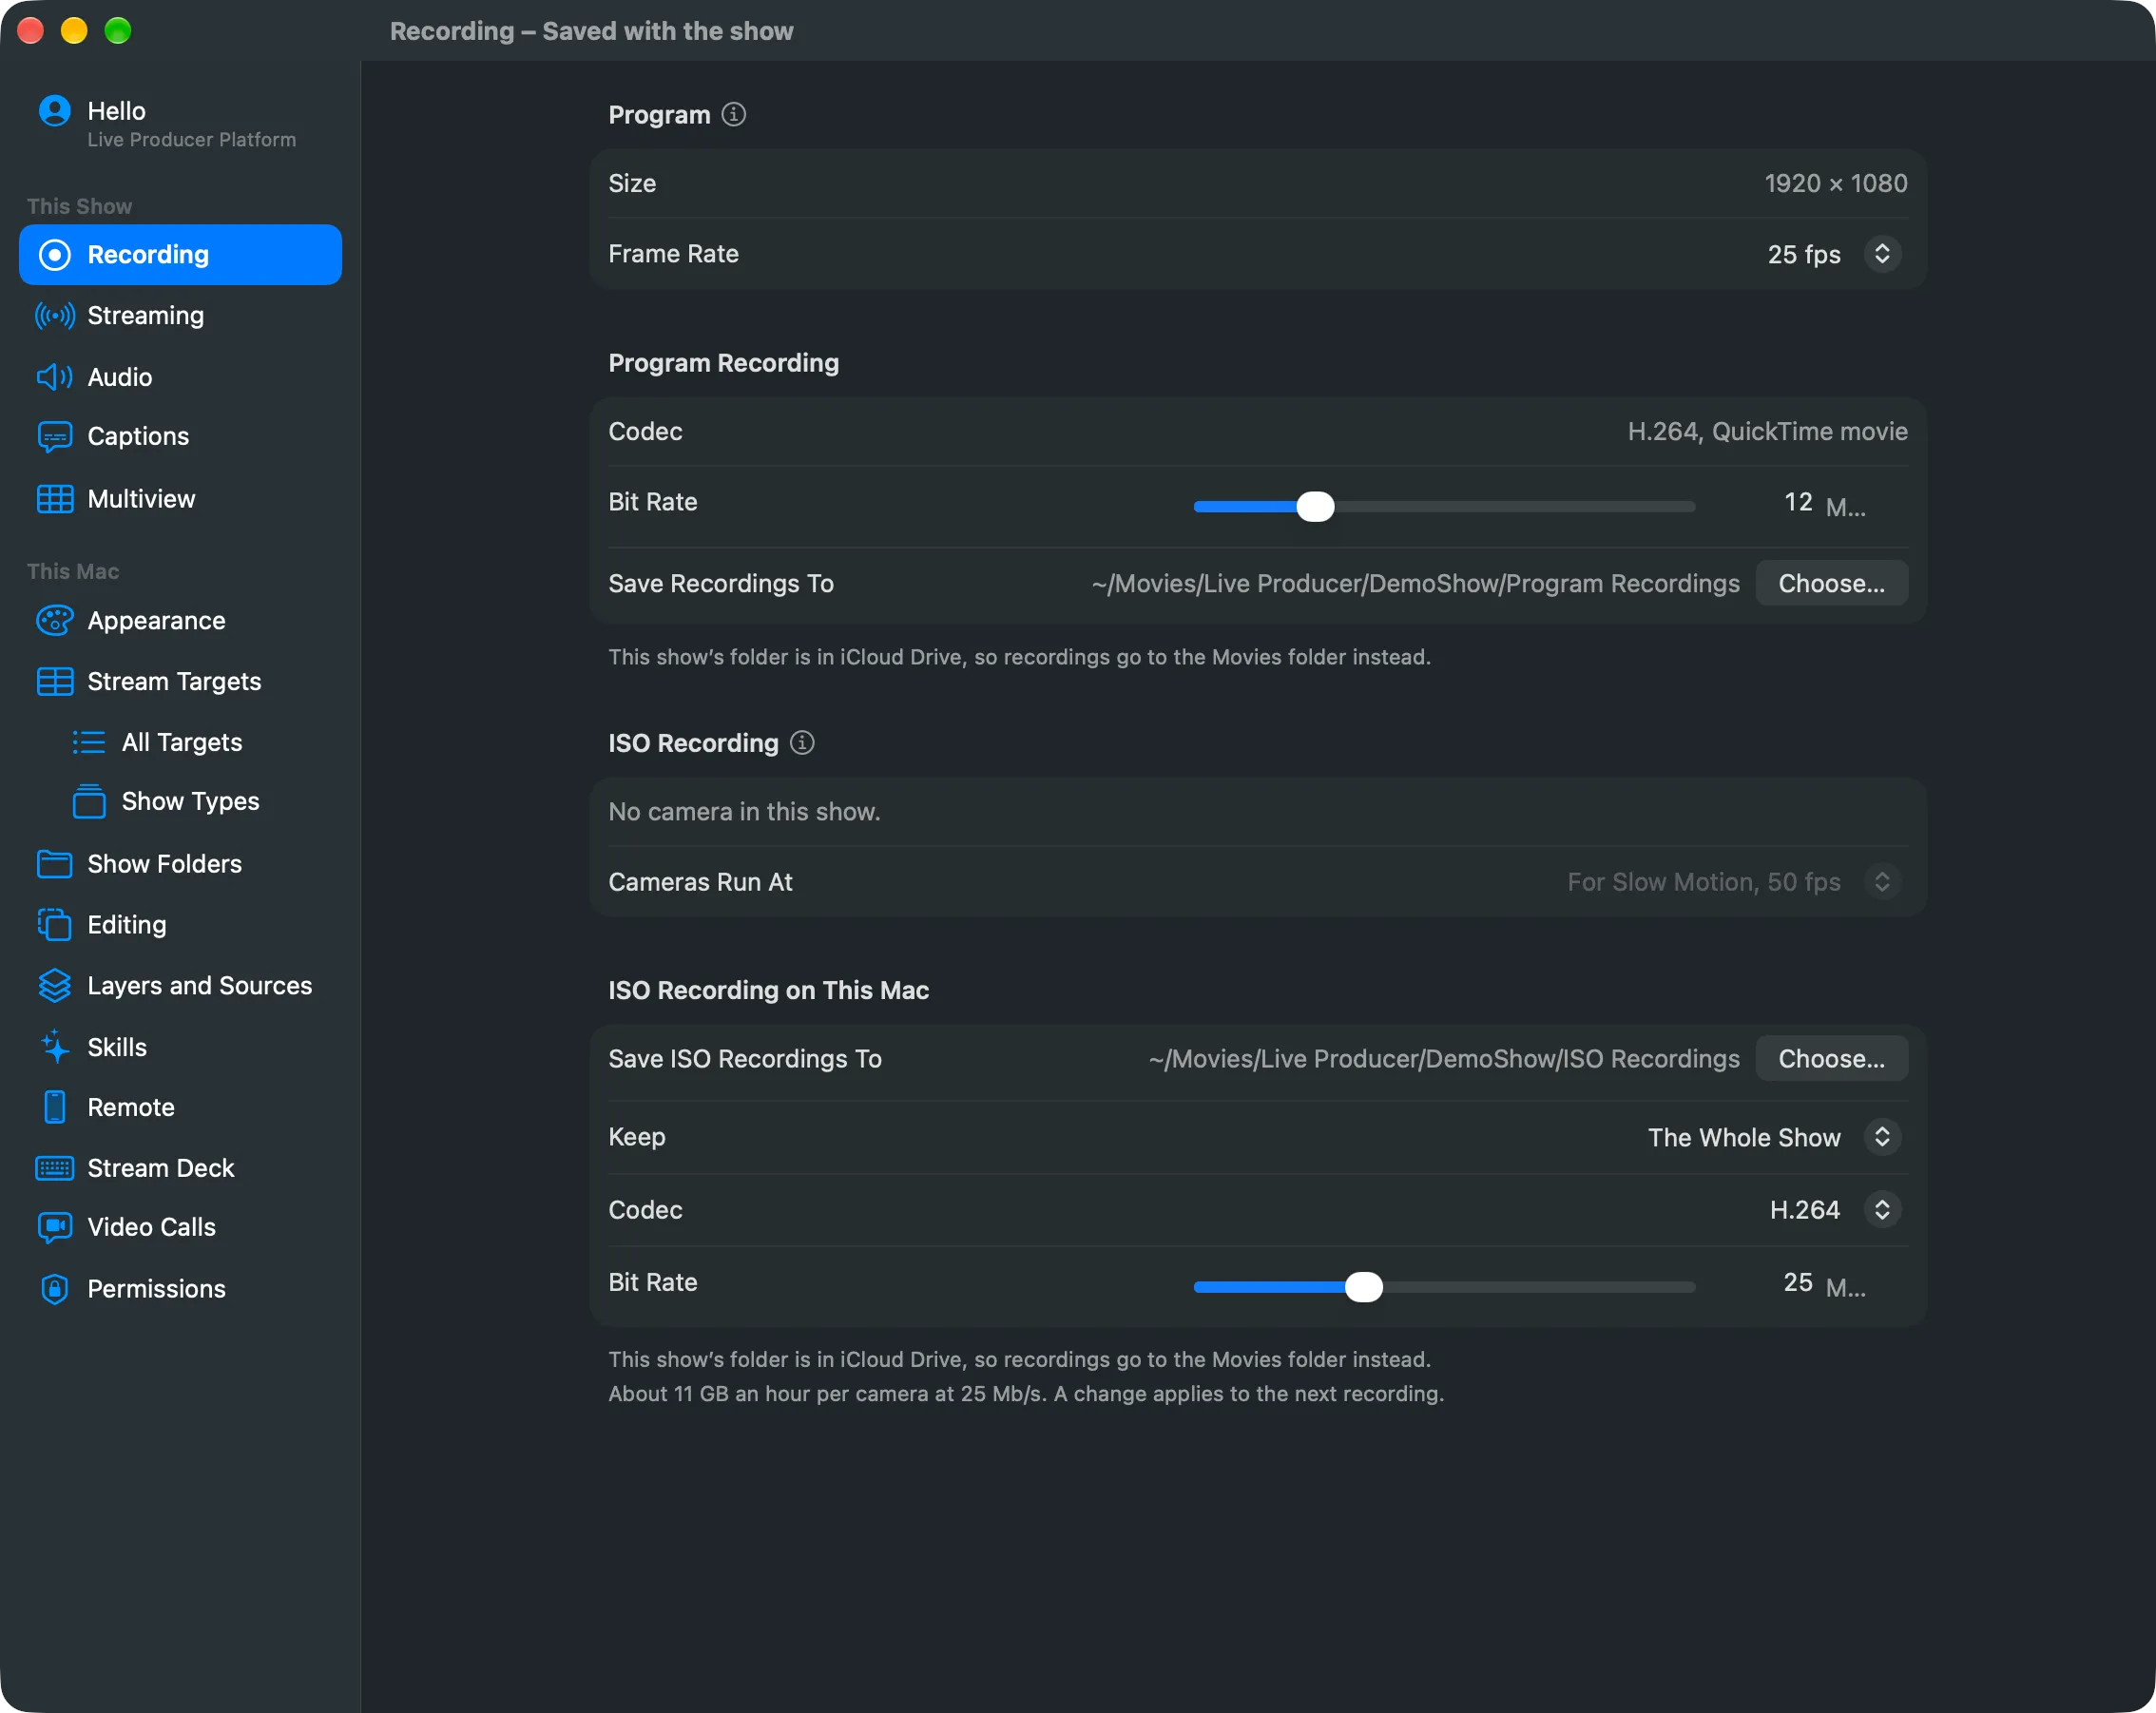
Section titled “Step 1: Tick the cameras”Open Settings › This Show › Recording. Under ISO Recording, tick each camera to record. The others are not recorded. You cannot change the ticks while ISO recording runs.
Step 2: Choose the rate the cameras run at
Section titled “Step 2: Choose the rate the cameras run at”Cameras Run At sets the rate of every camera while any records. For Slow Motion (the default) is twice the program’s rate for a 24 to 30 program, and the program’s own rate from 50 up. Choose a fixed rate from the list instead if your cameras need it.
A camera runs at the nearest rate its 1080-line formats offer, and some send fewer frames in a dim room. When a ticked camera runs at another rate, a note under the group names it, for example “MacBook Pro Camera runs at 30 fps, not 50 fps”. Slow motion from that camera then repeats frames.
Step 3: Set this Mac’s side
Section titled “Step 3: Set this Mac’s side”Under ISO Recording on This Mac, set:
| Setting | Choices |
|---|---|
| Save ISO Recordings To | The show folder’s ISO Recordings (the Movies folder when the show folder is in iCloud Drive), or a folder you choose with Choose…; Use Default goes back |
| Keep | The Whole Show, or the last 10, 20 or 30 minutes, or The Last Hour |
| Codec | H.264, or HEVC (smaller files, more cameras) |
| Bit Rate | 8 to 60 Mb/s |
These apply to the next recording.
Step 4: Start recording
Section titled “Step 4: Start recording”Choose Switcher › Start ISO Recording (⌥⇧⌘R). Or click Record in the toolbar, then Record in the ISO row. To start the program recording at the same time, click Record Both, or choose Switcher › Record Program and ISO. While only the cameras record, the toolbar reads “ISO” and the time.
Step 5: Stop recording
Section titled “Step 5: Stop recording”Click Record in the toolbar, then Stop in the ISO row, or Stop Both when both run. Switcher › Stop ISO Recording… (⌥⇧⌘R) opens the popover.
Verify
Section titled “Verify”Open the folder Save ISO Recordings To shows. It holds a folder for the recording with a
folder per camera, each with segments of two seconds, an index and recording.json, which
gives the rate asked for and the rate the camera delivered.
Related
Section titled “Related”Describes Live Producer 0.330 · 10 November 2026